US
US France
 Australia
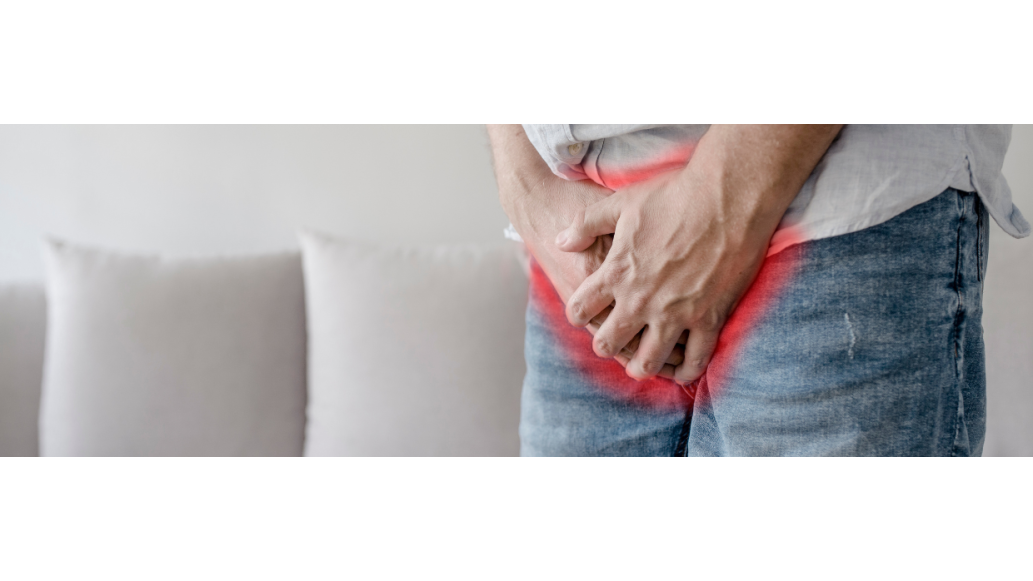
If you're an active person, you may associate pain in the lower abdomen or groin to a muscle strain. Groin injuries are often seen in athletes who participate in sports such as ice hockey or football. As you get older, it’s more likely that the groin pain is the result of a hernia. While you can't prevent hernias, you can be aware that they are a common cause of groin pain.
Learn more about the common types of groin injuries and how to prevent them from happening!
Key Takeaways
Forceful impacts, extreme flexion, and repetitive motions that occur during sports activity can strain groin muscles and connective tissues or cause hernias
From compression bandages to hot and cold therapy, there are plenty of home remedies you can do to reduce groin pain and promote faster healing
To help prevent groin strains, consider incorporating exercises that strengthen the groin muscles and improve range of motion
Table of Contents
Common Types of Groin Injuries
Signs and Symptoms of Groin Injuries
How to Treat a Groin Injury
8 Exercises to Prevent Groin Injuries
Top Products in This Article
Common Types of Groin Injuries
Groin pain most often results from some type of injury to the muscle, tendon, or ligament(s) in the lower abdomen, upper thighs, or hip area. Injuries frequently occur in athletes who play high-impact sports such as hockey, track and field, soccer, and football. Here are some of the most common types of groin injuries to look out for.
-
Adductor (groin) strain: Occurs when the adductor muscles are stretched or torn beyond their normal range of motion. The adductor muscles are the major muscles on the inside of the thigh where it meets the pelvis. These muscles are prone to stretching or tearing when athletes make sudden stops or turns.
-
Avulsion fracture: Resulting in pain and muscle weakness, avulsion fractures occur when the tendons that connect muscles to the bone are torn at the connection site. This fracture is common in young athletes because the pelvic growth plates have not yet solidified.
-
Inguinal hernia: More common in men, inguinal hernias occur when the lower abdominal muscles stretch or tear, often resulting in a bulge in the groin area as the abdominal organs press against or push through the weakened muscles.1 This hernia can cause a ‘pulling’ or ‘dragging’ sensation in the groin when lifting, stretching, bending over, or coughing.
Watch this video to learn more about the common causes and symptoms of a groin strain.
Signs and Symptoms of Groin Injuries
Pain in the groin can develop over time due to overuse of soft tissues or bones in the groin and hip area. But if you’ve never had a groin injury before, you might not know what symptoms to look for. Here we’ve put together a list of other symptoms you might experience besides pain in the groin.
Abdominal pain: Pain in the lower abdomen may be indicative of osteitis pubis or inguinal hernia. Osteitis pubis occurs when there is inflammation of the pubic symphysis, the joint of the two major pelvic bones at the front of the pelvis.2 When coughing, sneezing, or straining during a bowel movement, the abdominal pain may worsen.
Swelling or discoloration: Swelling may develop in the groin, upper leg, or hip, depending on which tissue(s) is affected. Skin over the injury site may become red, bluish, or black due to tearing of musculoskeletal tissue and surrounding blood vessels.
Tenderness at the touch: Some types of groin injuries only cause pain and/or tenderness when pressure is applied to the injury site.
Now that you know what signs and symptoms to look for, what is the best method of groin injury treatment?
How to Treat a Groin Injury
Immediately treating a groin strain can prevent it from worsening and help it to heal faster. You should avoid moving your leg too much in the first 48 hours after the injury. There are three different grades to groin strains to pay attention to when treating an injury.
Grade 1: Takes 1 to 2 weeks of rest before a person can return to exercise. Normal movement, such as walking, should be possible within a few days.
Grade 2: May take 3 to 6 weeks to heal fully.
Grade 3: Occurs when most or all the muscle is torn. The muscle can take 3 to 4 months to repair completely.
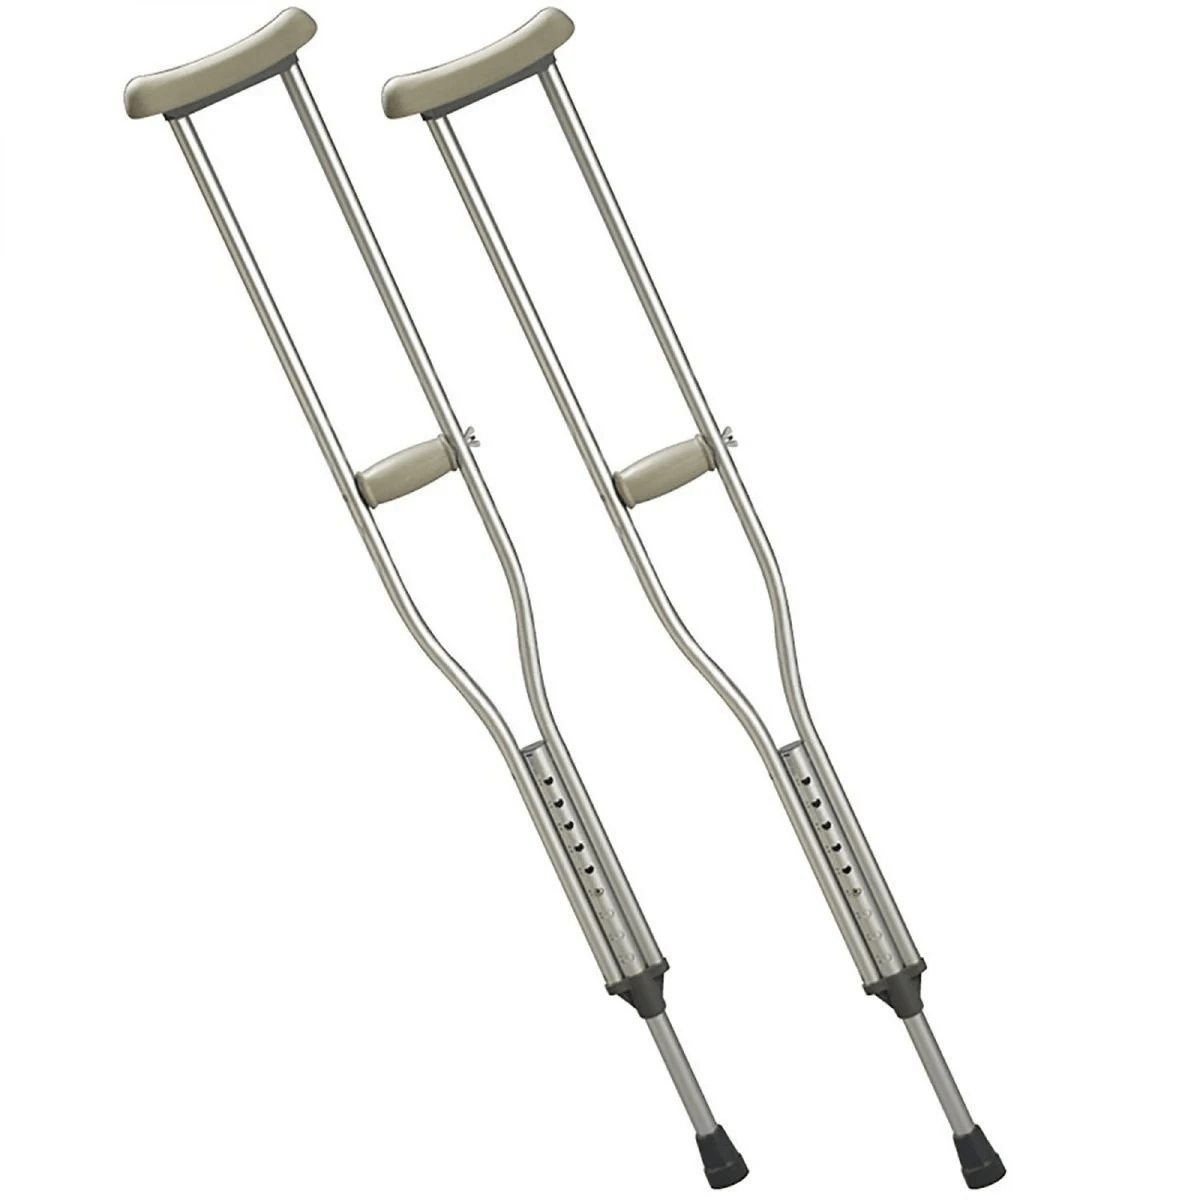
If you have a second- or third-degree strain, you might be fitted for crutches and referred for further medical evaluation. Groin injuries may cause pain and concern, but most minor injuries will heal on their own. Home treatment is usually all that is needed to relieve symptoms and heal grade one strains.
Home Remedies to Ease Groin Pain
While working on strengthening your core, there are several home remedies you can use to relieve groin pain and prevent further injury.
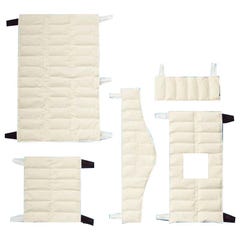
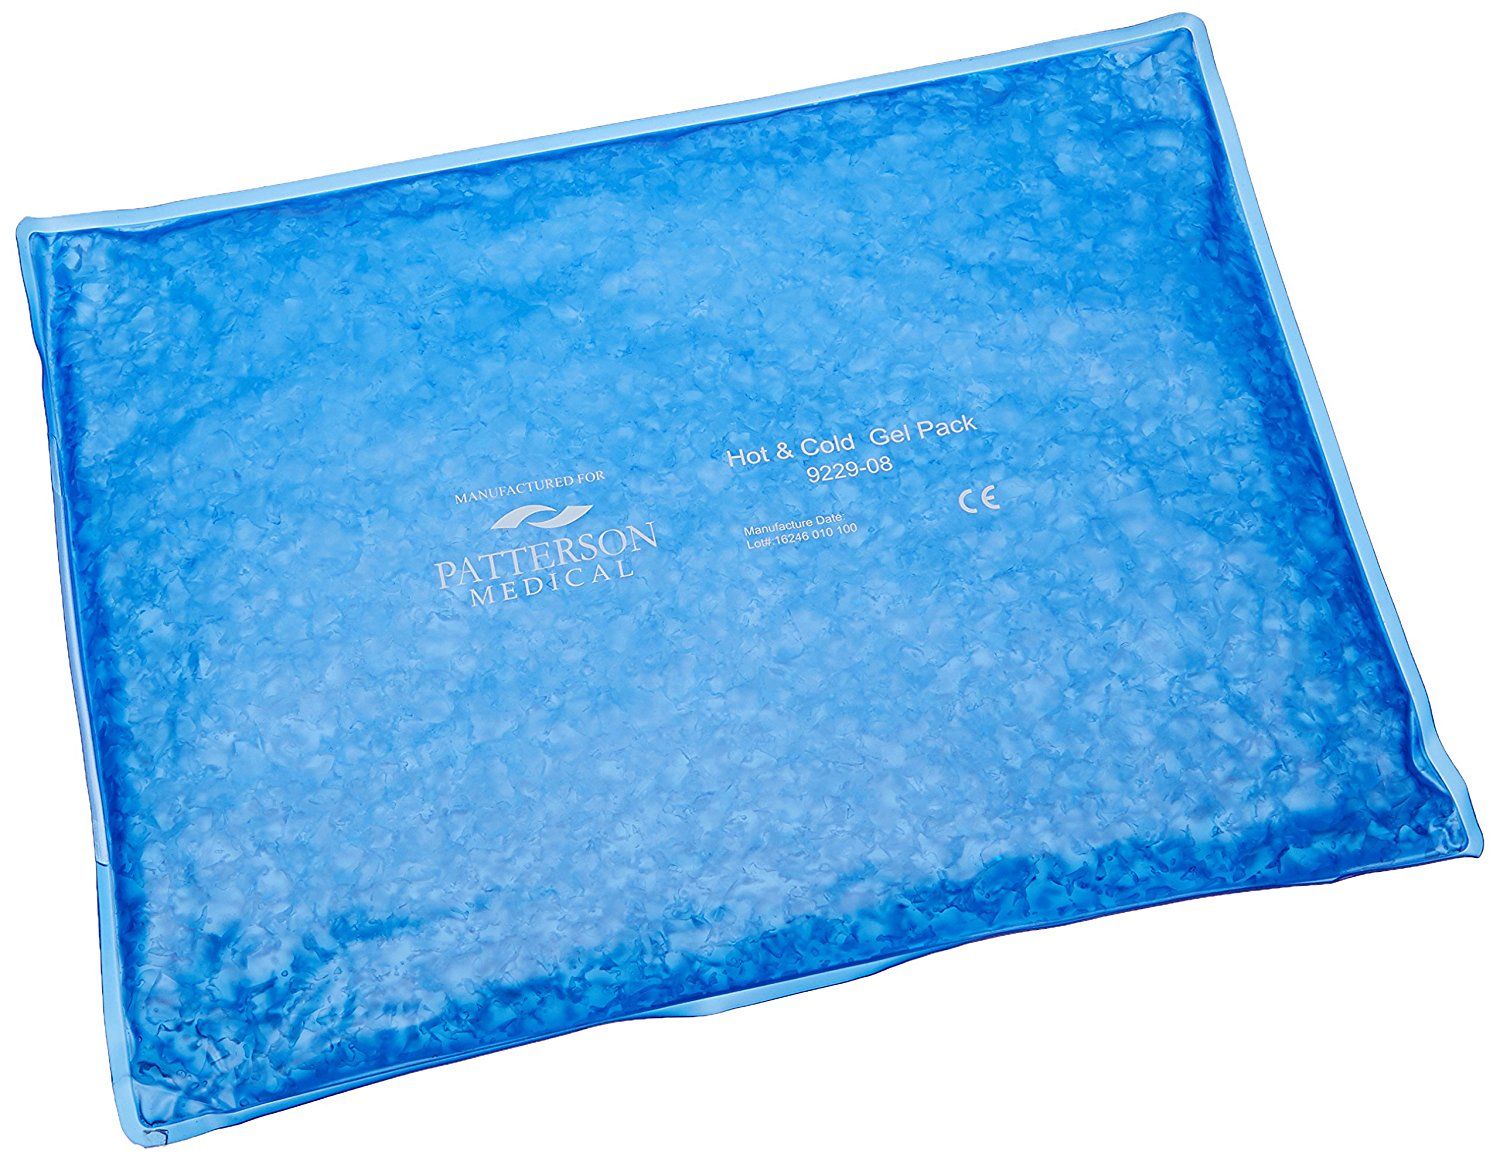
1. Cold Therapy: This is a proven method for reducing pain and inflammation in the soft tissues. Cold reduces inflammation, which can help with pain and support a quicker recovery. You can apply an ice pack to the area for 15 minutes at a time to help the muscles heal. Do this a few times a day if needed and for as long as desired.
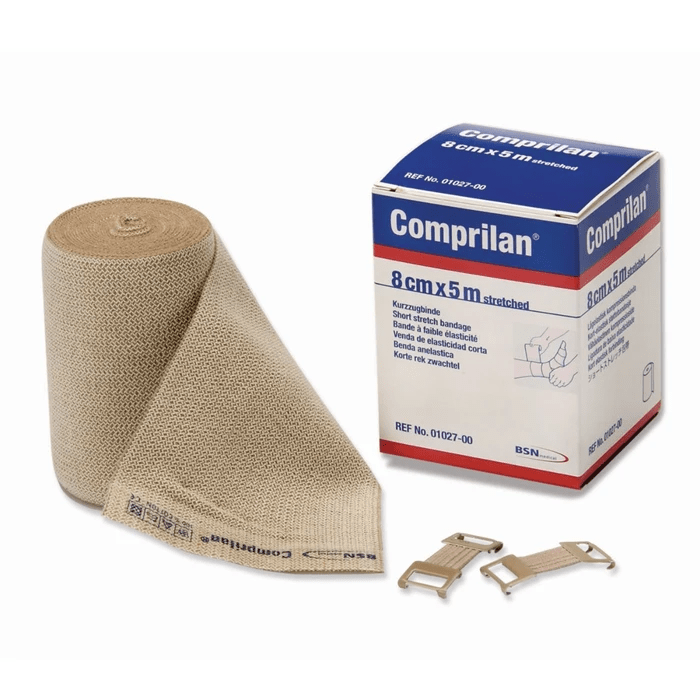
2. Compression Bandage: Wrap the area around the groin to help increase blood flow to the injury site and minimize swelling. The mild compression can also help with pain and mobility. The bandages provide tension and stability, so the wrap doesn’t slip when layering.
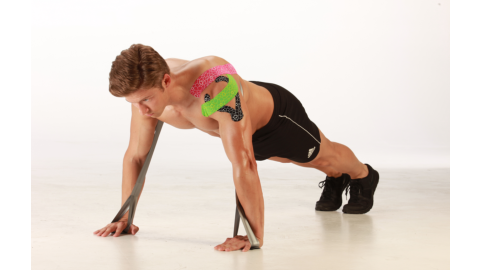
8 Exercises to Prevent Groin Injuries
Want to avoid a groin injury during your workouts? Improved flexibility and strength can help build your body’s resistance to groin strains or pulls! Strengthening the injured muscles are an important part of the groin strain recovery process, but it is important that you don’t do too much too soon. Check with a medical professional before beginning a new exercise regimen.
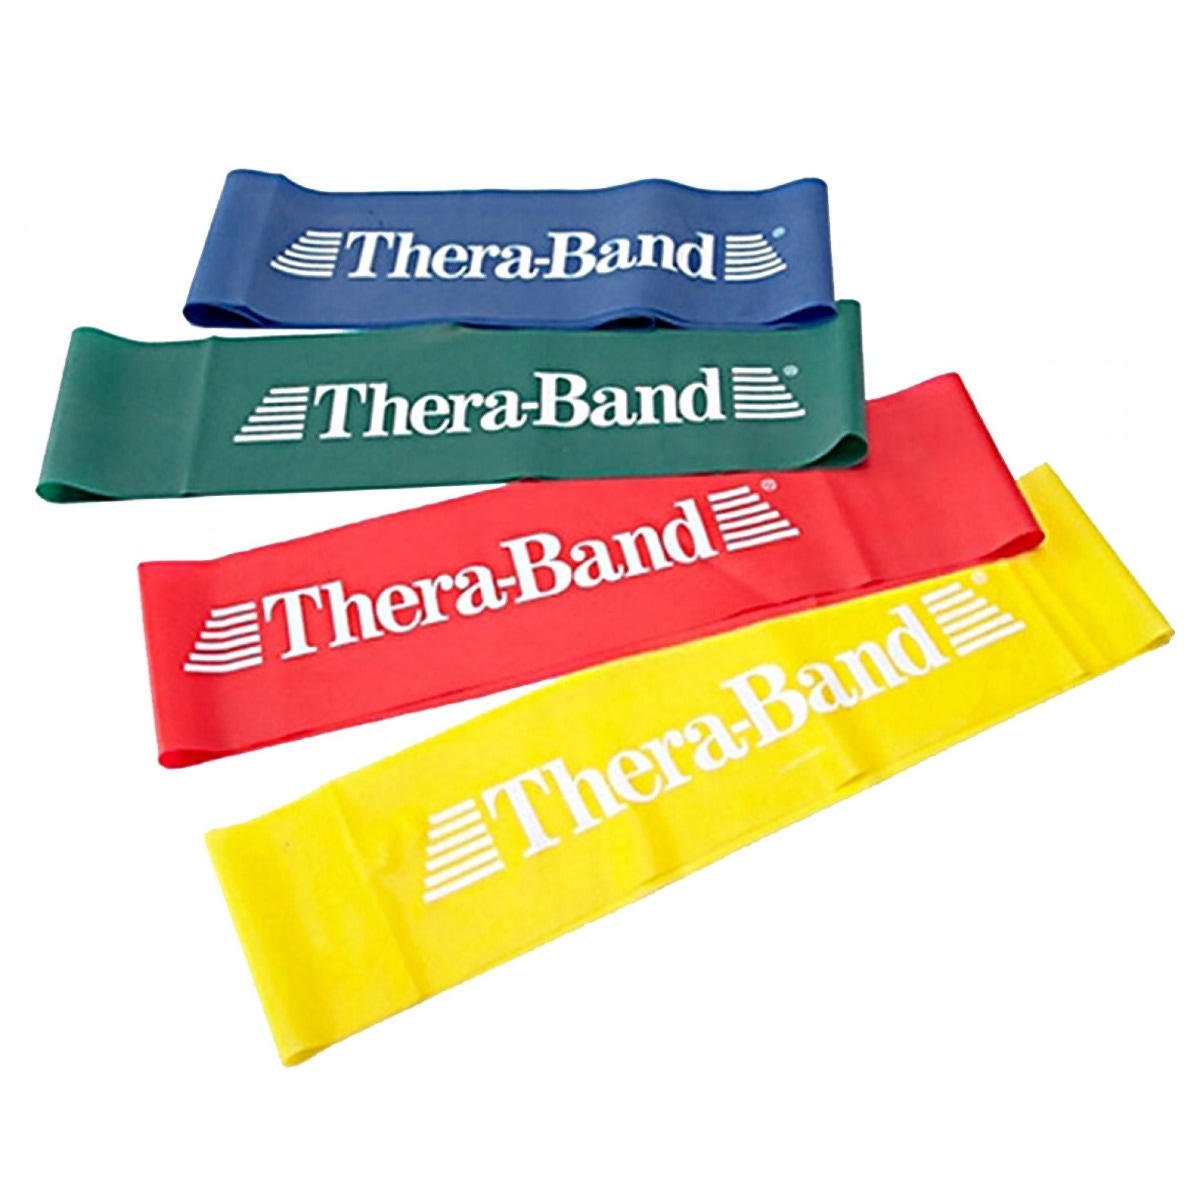
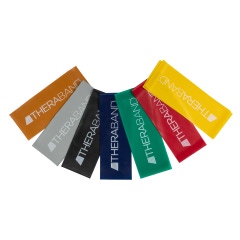
Here are a few stretches and strengthening exercises you can do to develop your adductor muscles and reduce your risk of injury. Some of these exercises refer to the use of a resistance band loop or tubing. If you’d like to increase the intensity of the exercises provided below, you can use a resistance band during the entire workout!
Fire Hydrant
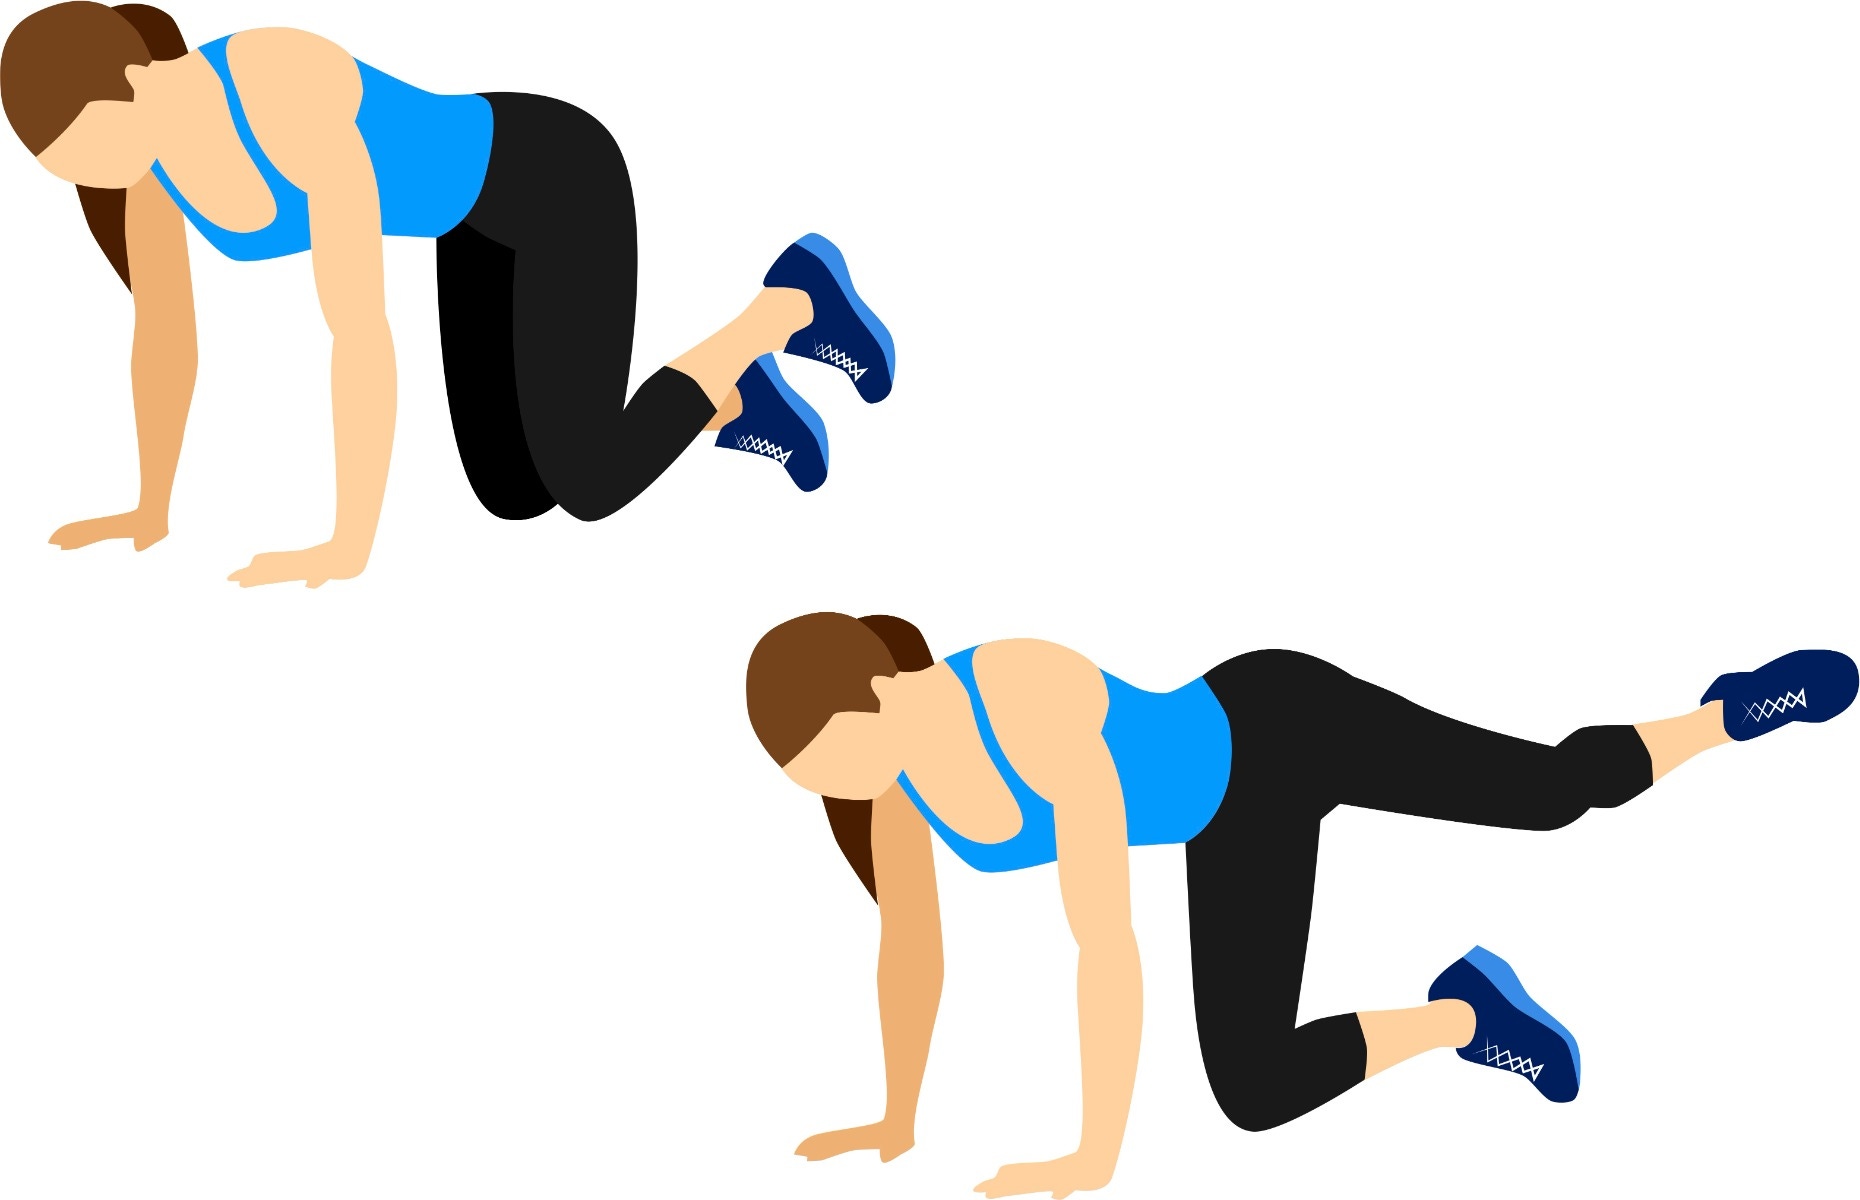
From tabletop position, yield your weight evenly onto your hands and right knee.
Slowly lift your left leg away from your body, keeping your knee bent.
Hold this position for 2-3 seconds before returning to the starting position. Do this 10 times before switching to the opposite leg.
For a greater challenge, place a loop band around your legs!
Clamshell
Lie on your side, with legs stacked and knees bent at a 45-degree angle.
Engage your abdominals by pulling your belly button in, as this will help to stabilize your spine and pelvis.
Keeping your feet touching, raise your upper knee as high as you can without shifting your hips or pelvis. Don’t move your lower leg off the floor.
Hold for 2-3 seconds, and then return your upper leg to the starting position on the ground. Do this 12 times before switching to the opposite side.
For a greater challenge, place a loop band around your legs!
Supine Side Leg Raise
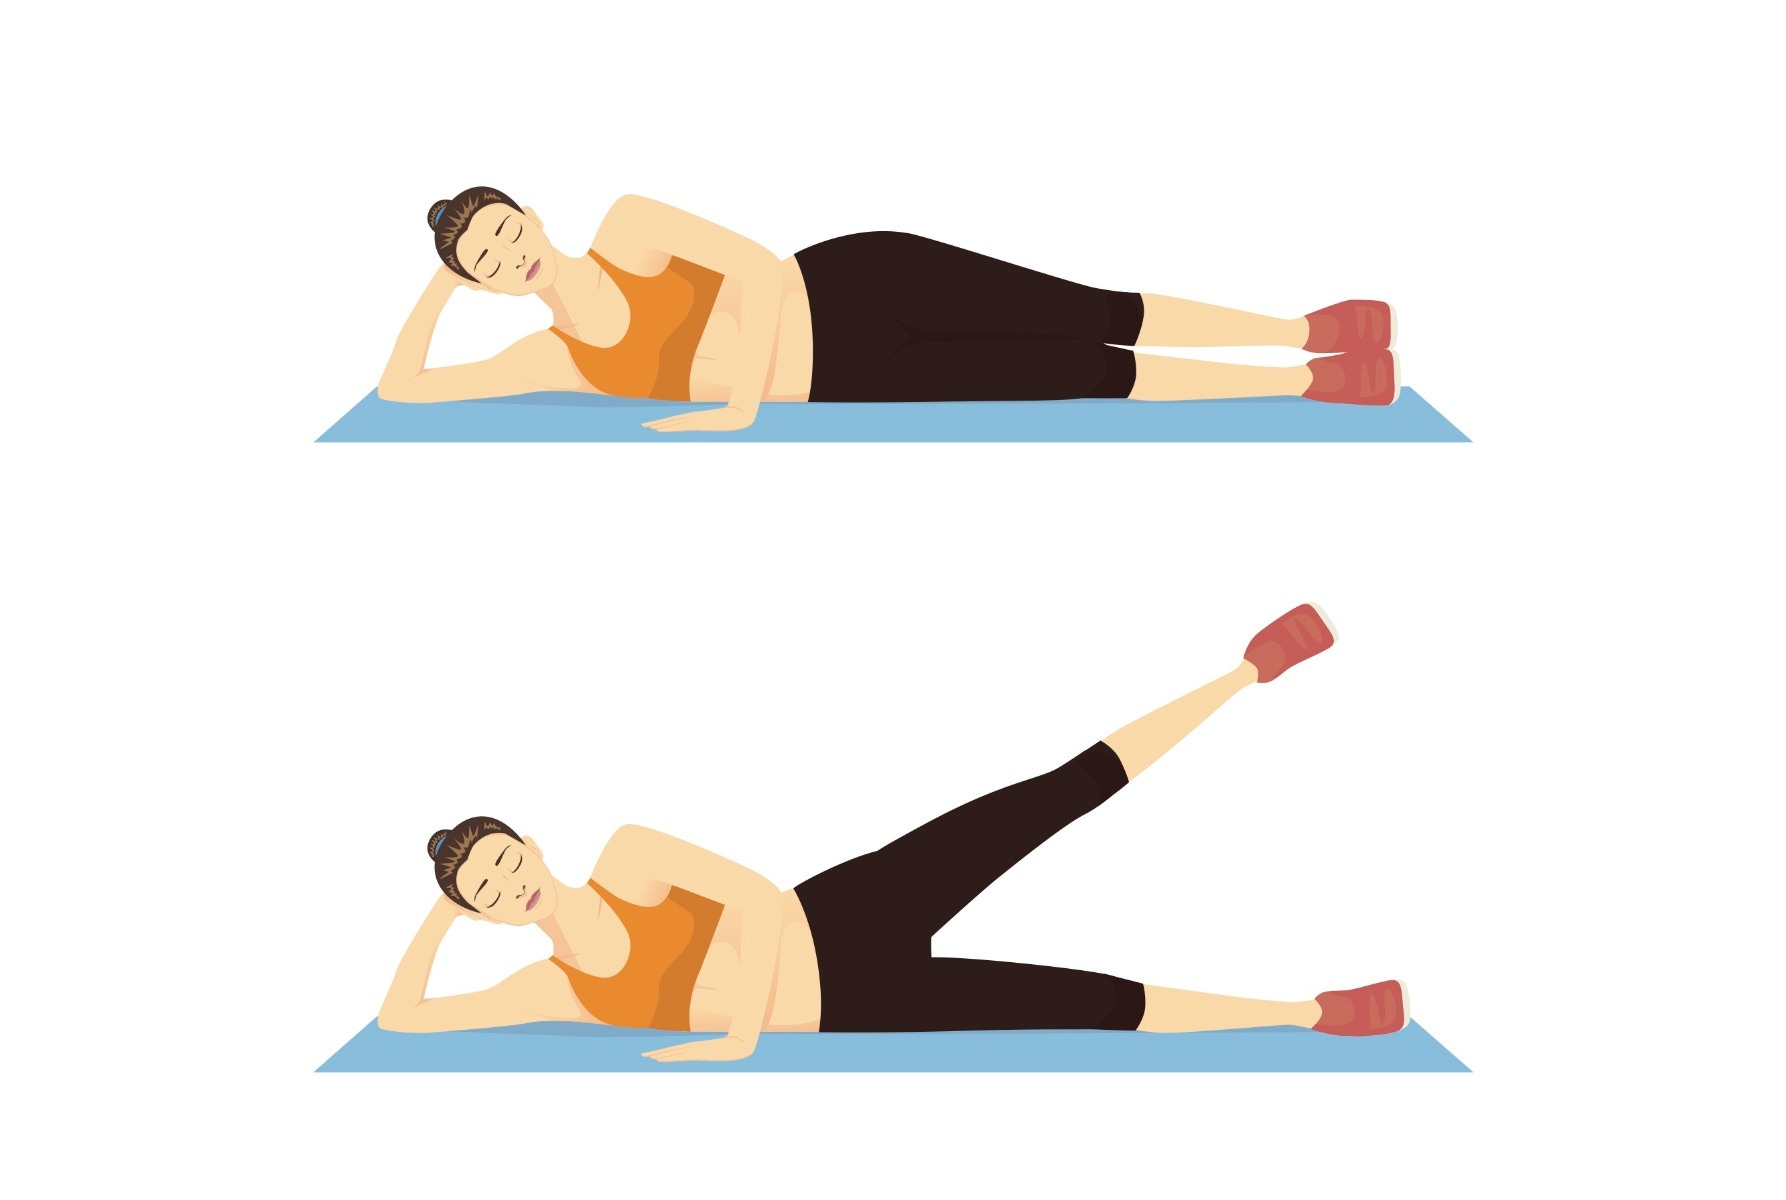
Lie down on your right side on a mat or the floor. Position your body in a straight line with legs extended and feet stacked on top of each other.
Place your arm straight on the floor under your head or bend your elbow and cradle your head for support. Place your left hand out front for extra support or let it rest on your leg or hip.
Gently raise your left leg off the lower leg. Stop raising your leg when you feel the muscles flex in your lower back.
Lower the leg back down to meet the right leg. Do this leg raise 10 times before switching to the opposite leg.
For a greater challenge, place a loop band around your legs!
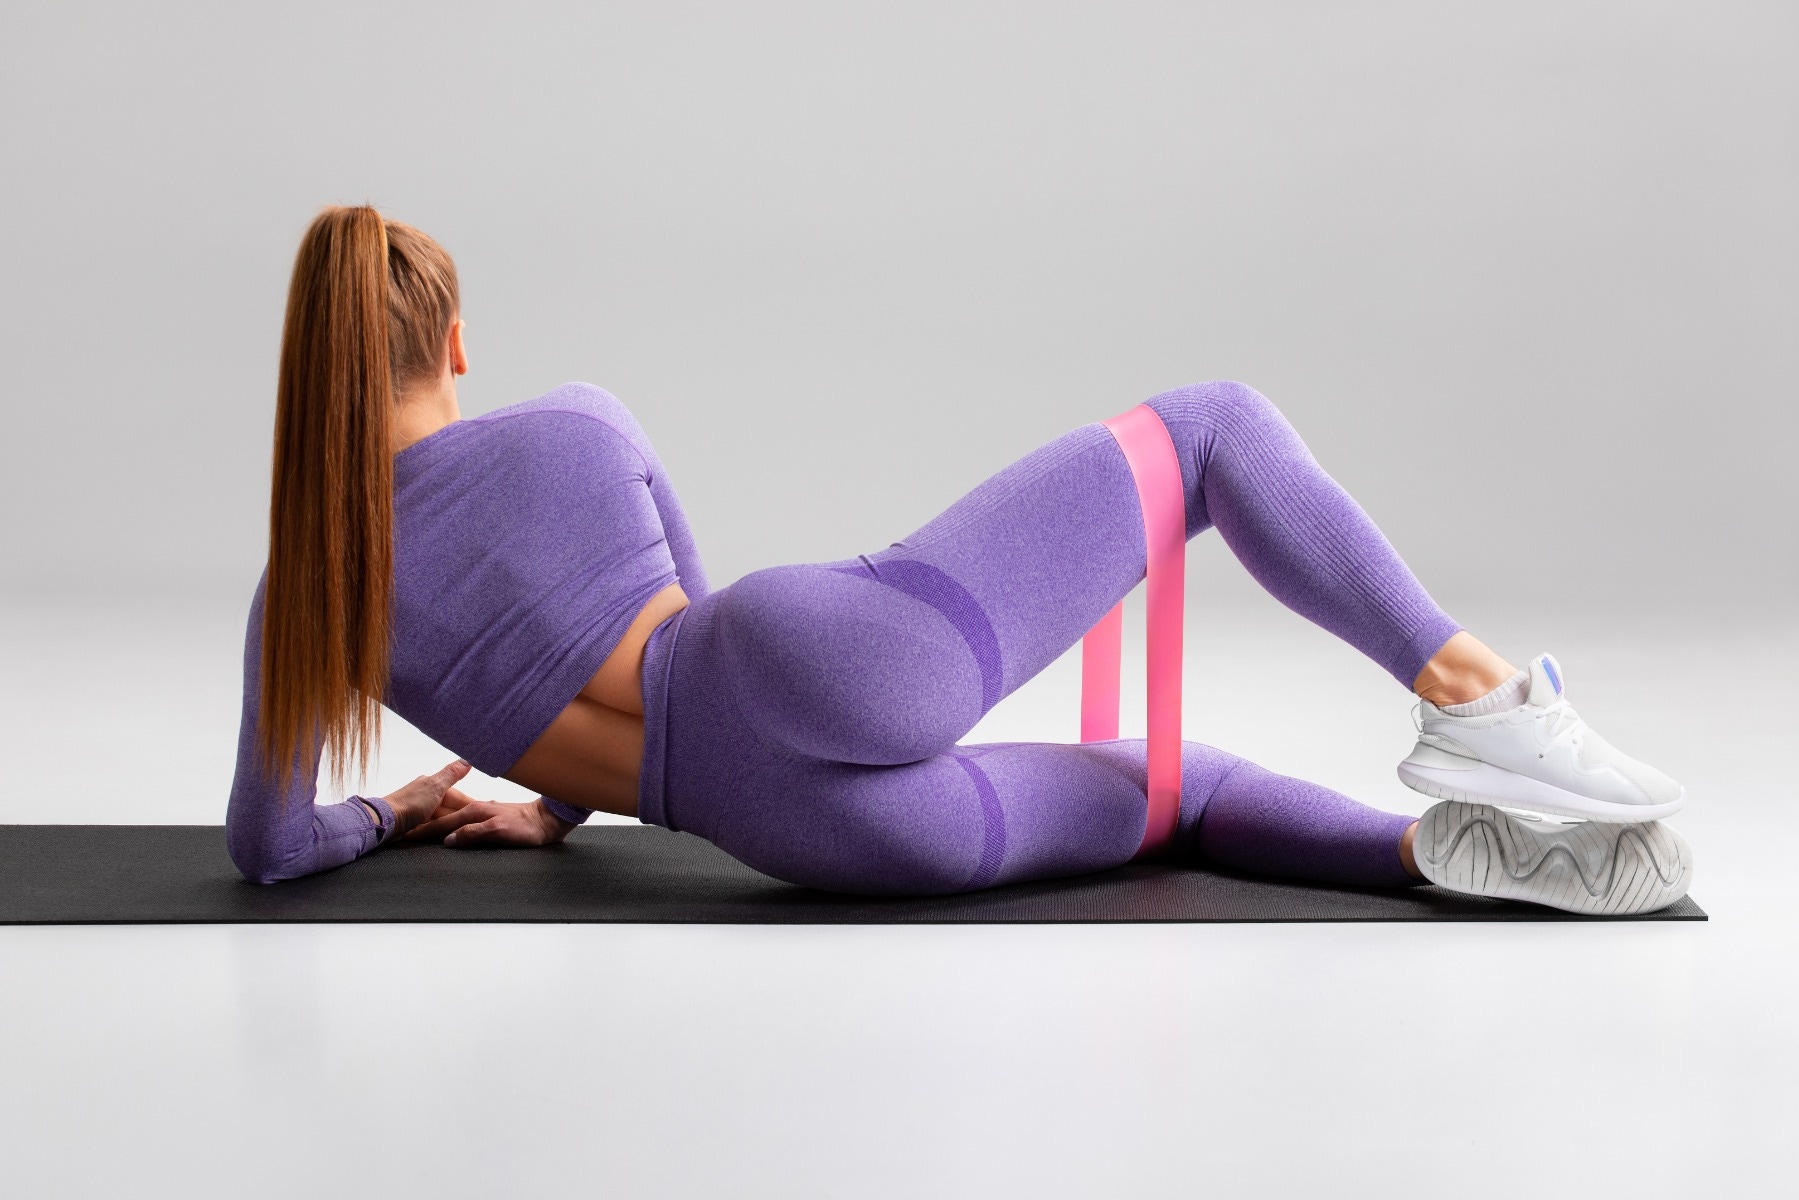
Resisted Hip Flexion
Secure the resistance tubing to the door with the door anchor at the bottom of the door. Attach both ends of the band to one ankle strap. Secure the ankle strap around the ankle of your active leg.
Take the active leg out to the side as far as possible and make sure the band is tight in this position.
Keep the knee straight as you bring your leg into the center and across the supporting leg, against the resistance of the band.
Slowly return to the starting position. Repeat this hip flexion 10 times before switching to the opposite leg.
Lateral Lunge
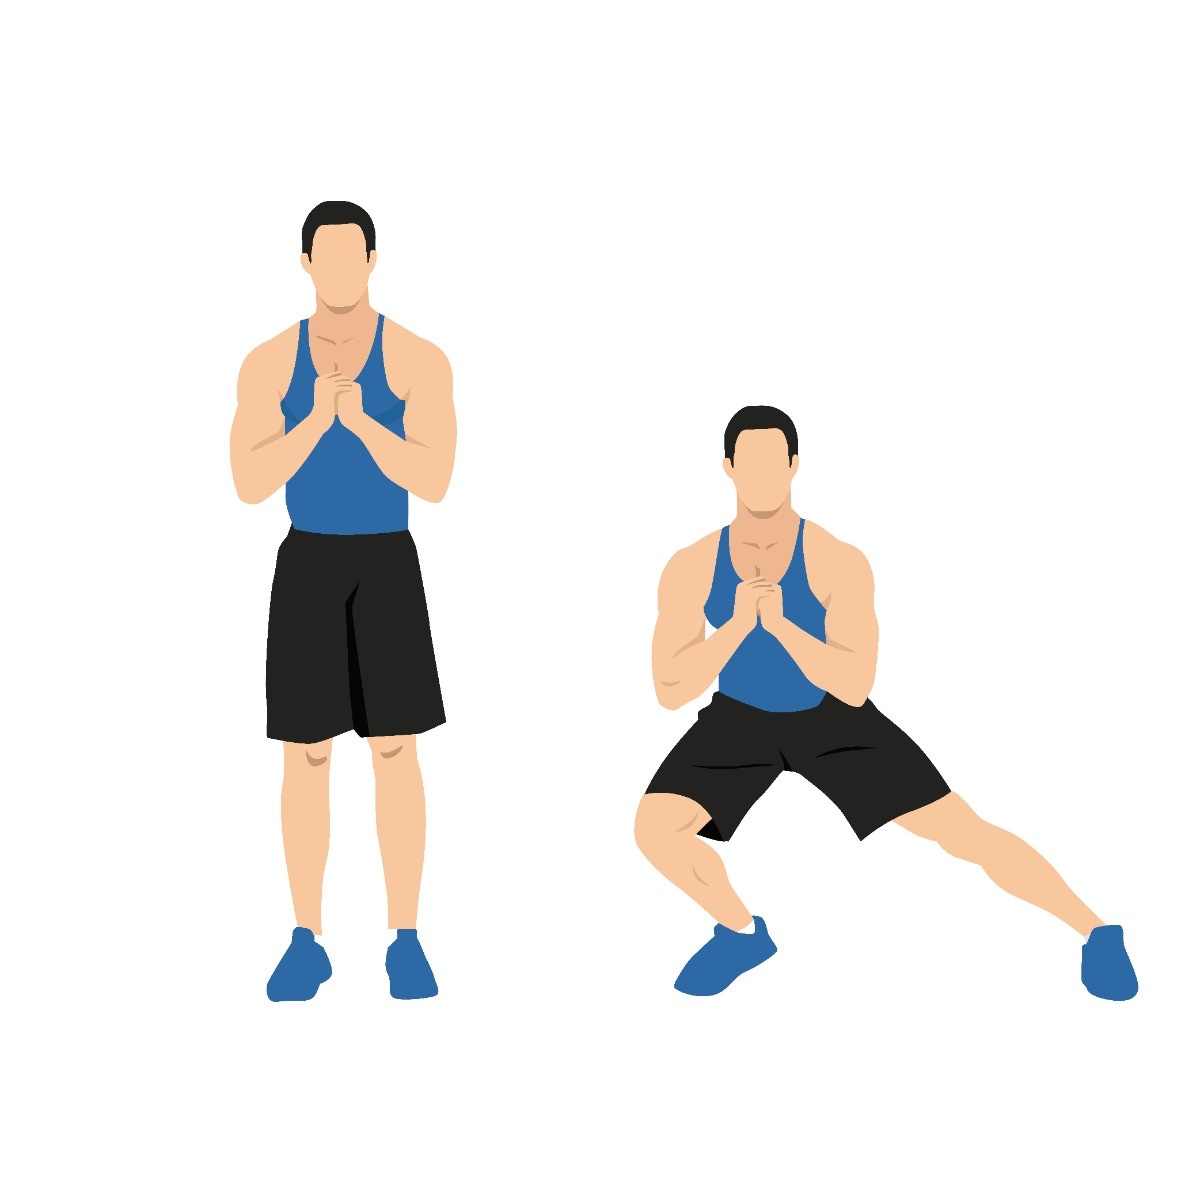
Start with your feet shoulder-width apart, toes pointed straight forward.
Step to the side with your right foot as wide as possible. Engage through the right heel as you drop your hips down and back while keeping the left leg straight.
Stretching the groin on the left leg, keep both soles of the feet on the ground and toes pointed straight forward.
Push your right heel into the floor to bring yourself back to standing in the start position. Do this lunge 8 times on each leg.
For a greater challenge, place a loop band around your legs!
Kneeling Hip Stretch
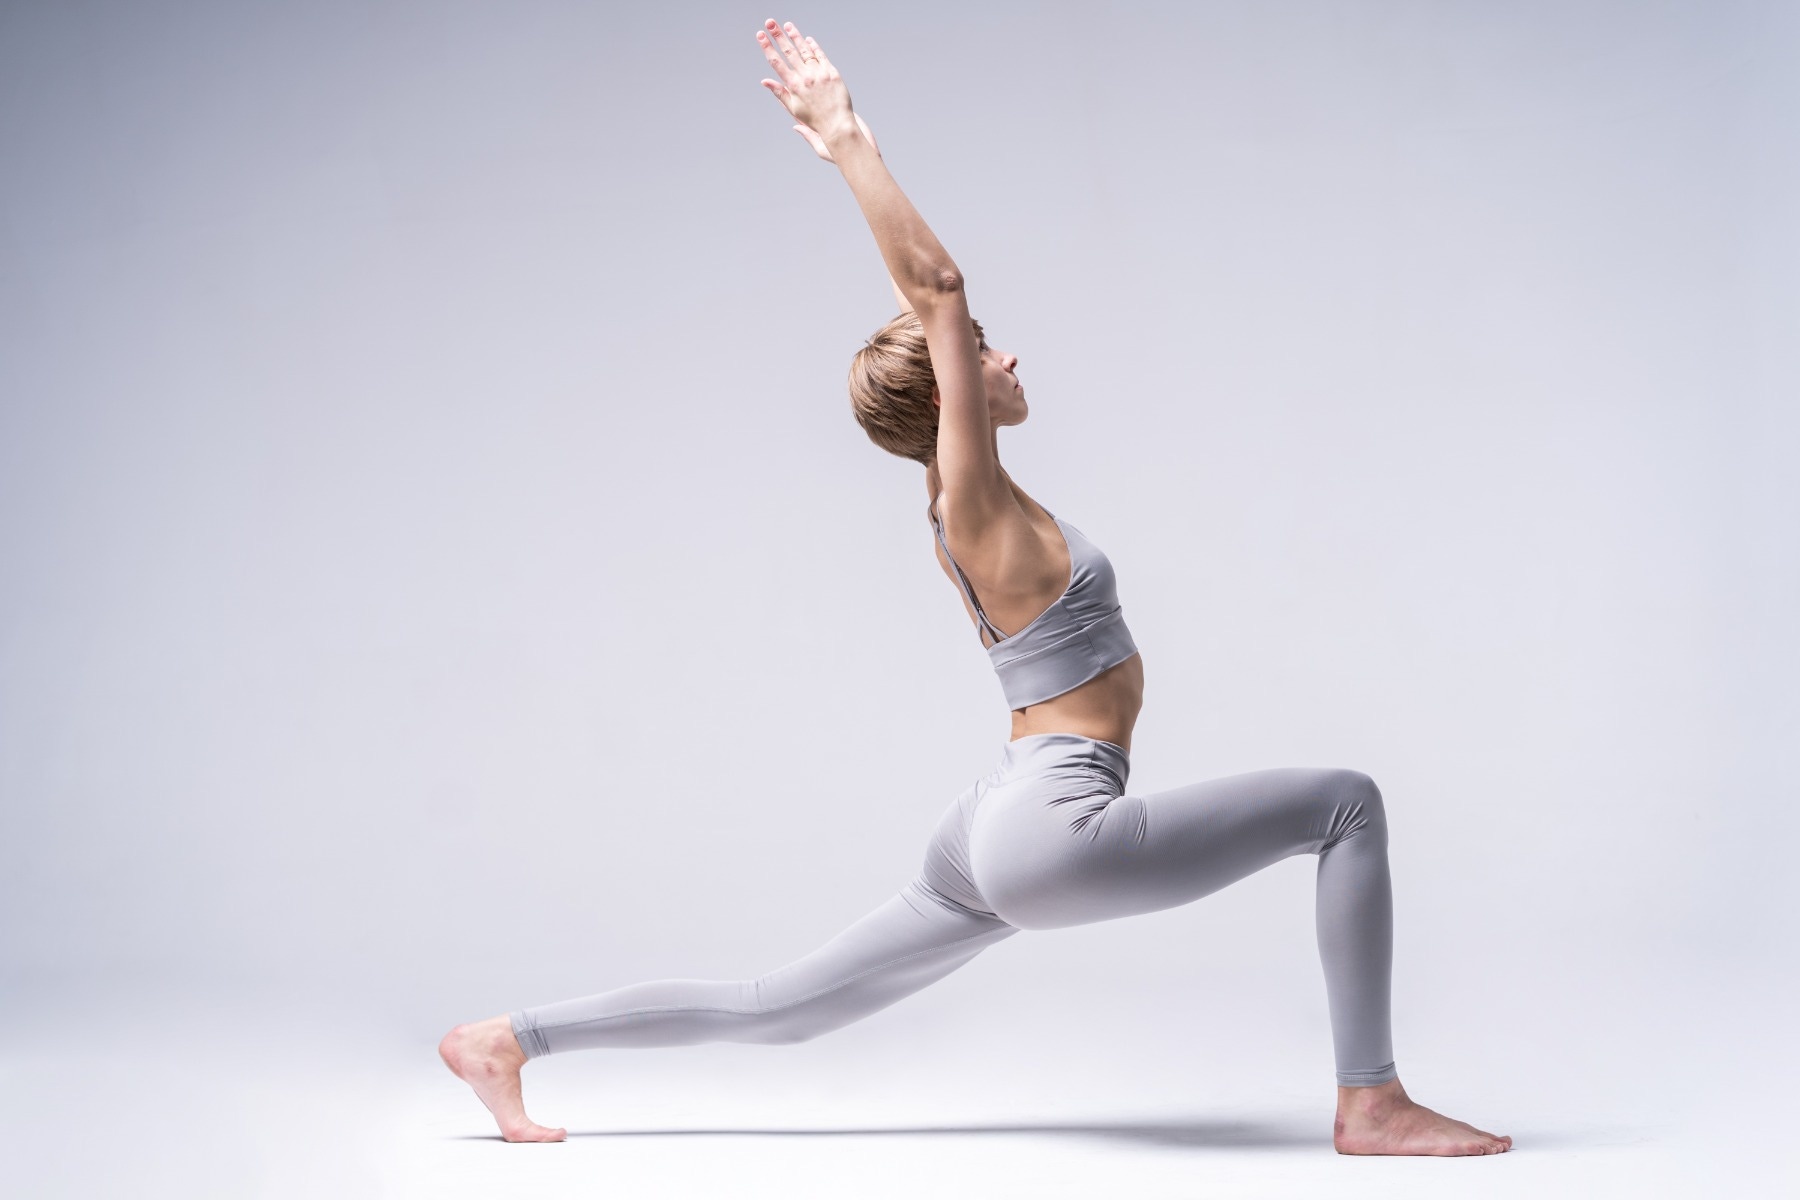
Lower into a deep lunge with your right knee bent and your left leg extended behind you. Squeeze your glute on the rear leg to increase the stretch of the hip flexor and groin muscles.
If you do not feel a stretch, add a gentle lean back with arms raised overhead. Hold for 15 seconds before switching to the opposite leg. Do this hip stretch 5 times.
Wide Squat
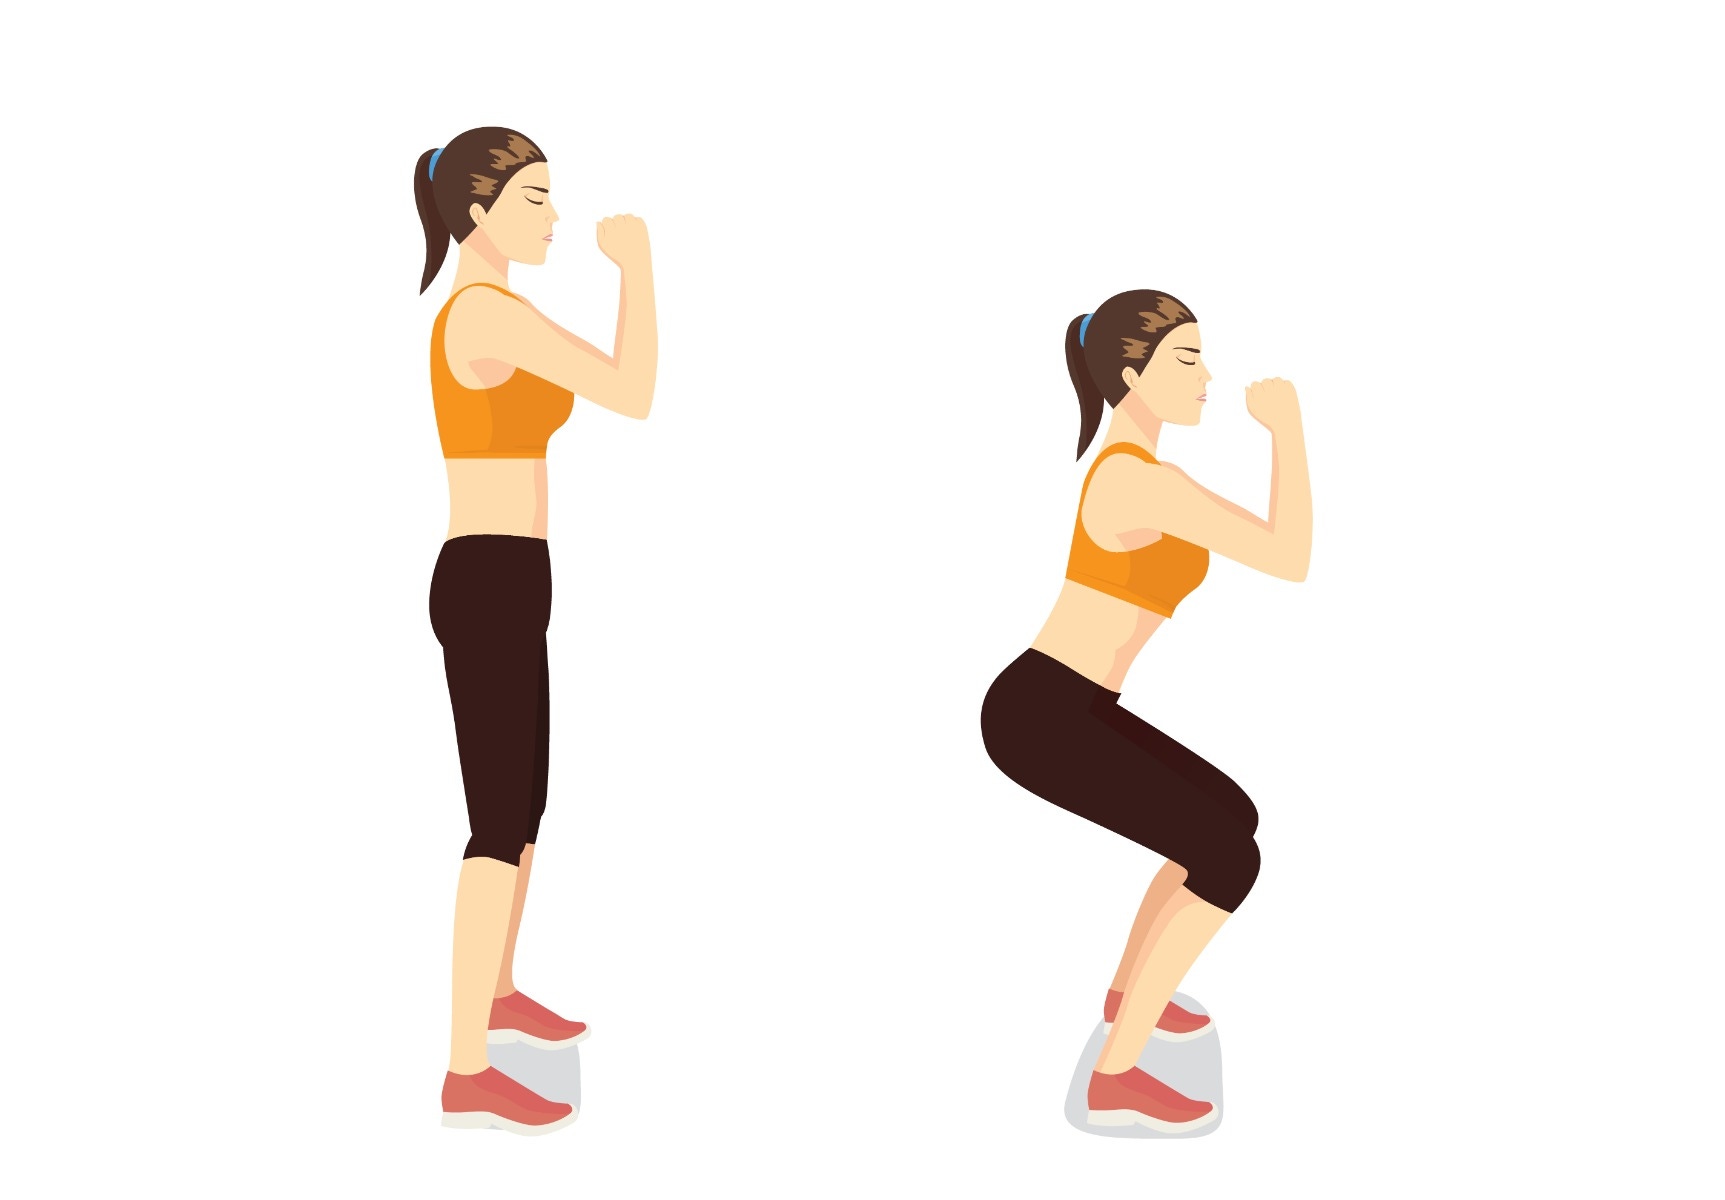
Stand with your feet wider than shoulder-width apart and toes pointing outwards.
Lower into a deep squat until your knees are directly over your ankles and bent 90 degrees.
Place your hands on top of your inner thighs and slowly push outward to open your hips. You will feel a stretch in the groin muscles in both legs.
Hold for 20 to 30 seconds before rising back up to starting position. Do this squat 5 times.
For a greater challenge, place a loop band around your legs just above your knees.
Resisted Hip Extension
Secure the resistance tubing to the door with the door anchor at the bottom of the door. Attach both ends of the band to one ankle strap. Secure the ankle strap around the ankle of your active leg.
Facing the door, stand 3-feet away with your back straight, head straight, and core engaged.
While keeping your active leg straight, push your leg back and squeeze your glutes. Return to starting position. Do this hip extension 10 times before switching legs.
To prevent groin injuries, keep your core strong and engaged during exercise. If the core muscles are weak, you won’t have a stable base for the limbs to exert force from. For example, the hockey stride is an explosive, force-producing maneuver that requires a strong core. If the core is not stable, the muscles will fail to absorb the normal stresses exerted on the body during the movement pattern. As a result, a groin injury may occur.
Make sure to stretch the inner thigh muscles regularly before and after exercise. Tight muscles and ligaments can lead to groin strains or pulls. Start with gentle static stretches and move on to dynamic stretches when you can do the static stretches without pain. For each static stretch, hold the position for 30 seconds. Watch this video to learn how stretching can help relieve and prevent pain on the inside of the thigh.
Recap
To reduce the risk of groin injuries, avoid using the adductor muscle without proper training. Pay attention to how your groin area feels as you start to become more active. If you start to feel the pain returning, reduce the intensity and duration of your activities.
References
- Baker, Lisa. (2018). Groin Strain: Symptoms, Treatments, and Recovery Time. Healthline. Retrieved from https://bit.ly/31bSkkm
- Cluett, Jonathan. (2020). Diagnosing and Treating Groin Pulls. VeryWell Health. Retrieved from https://https://bit.ly/2QCf4YI
- Moore, Kristen. (2018). Inguinal Hernia: Causes, Symptoms, and Diagnosis. Healthline. Retrieved from https://bit.ly/3d2w1D1
Medical Disclaimer: The information provided on this site, including text, graphics, images, and other material are for informational purposes only and are not intended to substitute for professional medical advice, diagnosis, or treatment. Always seek the advice of your physician or other healthcare professional with any questions or concerns you may have regarding your condition.